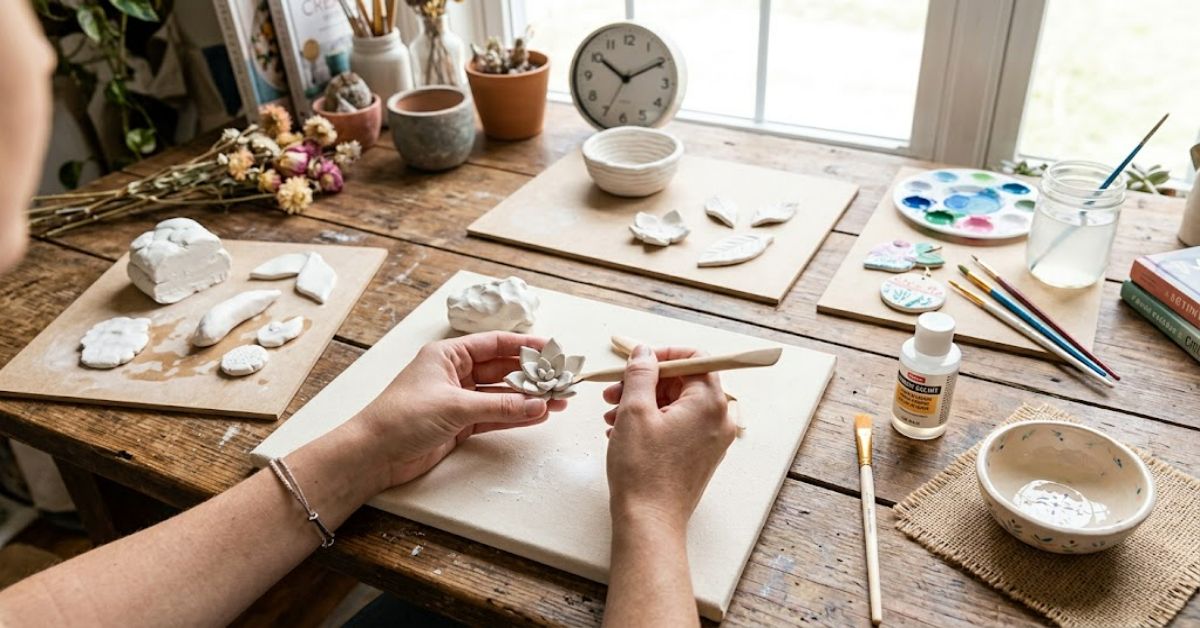
Air dry clay is a soft, pliable modelling material that hardens at room temperature without requiring a pottery kiln or oven. It is popular for home crafts, school projects, decorative ornaments, jewellery components and small sculptures because it makes pottery-inspired creativity accessible without specialist equipment.
Most products become firm within 24 to 72 hours, although larger pieces can take longer. The exact drying time depends on the clay’s ingredients, the thickness of the object, room temperature, humidity and airflow. A piece that feels dry on the surface may still contain moisture inside, so patience matters.
Unlike traditional ceramic clay, air-drying formulations are not generally fired to create a vitrified, water-resistant structure. Once dry, they can be sanded, painted and decorated, but their strength and moisture resistance vary. Some formulations use paper fibres, while others rely on mineral fillers, binders or polymer-based ingredients.
Choosing the right material is only the first step. Successful results also depend on preparation, construction, drying and finishing. A carefully shaped ornament may last for years indoors, while an unevenly dried piece can develop cracks before it is ready to paint.
This guide explains how to work with the material, compare common options and prevent avoidable problems. It also covers practical limitations that are easy to overlook, including hidden moisture, structural weakness and the difference between a decorative bowl and a vessel designed to hold food or water.
How to Work with Air-Drying Clay
Start with a clean, dry work surface and knead the material gently until it feels consistent. If the clay is too firm, follow the manufacturer’s guidance rather than adding excessive water. Too much moisture can make shaping difficult and increase drying time.
Use a rolling pin, craft knife, modelling tools and a small amount of water when appropriate. Keep unused clay sealed in its original packaging or an airtight container to prevent premature drying.
For stronger construction, join separate pieces by scoring both surfaces and applying a small amount of water or the manufacturer’s recommended joining method. Press the sections together firmly without creating unnecessarily thick joints.
Drying Without Cracks
Allow the object to dry gradually in a well-ventilated room away from direct sunlight, radiators and intense heat. Turning a piece carefully during drying can help expose different surfaces to the air, provided it is firm enough to handle.
| Project thickness | Practical drying approach |
| Thin ornaments | Check after 24 hours |
| Small sculptures | Allow 24–72 hours or longer |
| Thick decorative pieces | Expect several days if needed |
| Joined or hollow forms | Allow extra time around joints and enclosed areas |
These are general guides, not guaranteed drying times. Product instructions take priority. Avoid painting until the piece is dry throughout, not merely firm to the touch.
Comparing Common Clay Types
| Material | Main advantage | Main limitation |
| Air-drying clay | No kiln required | Usually vulnerable to moisture |
| Polymer clay | Can retain fine detail after baking as directed | Requires an appropriate oven |
| Traditional ceramic clay | Can produce durable fired pottery | Requires suitable kiln firing |
| Plasticine-style modelling clay | Remains workable for repeated modelling | Generally does not harden permanently |
For beginners, room-temperature drying is convenient. However, the intended use should determine the material. A decorative ornament has different performance requirements from a mug, plant pot or outdoor sculpture.
Common Mistakes and Practical Solutions
Cracks: Uneven thickness, rapid drying and poorly joined sections can contribute to cracking. Keep walls reasonably even and allow the piece to dry slowly.
Warping: Thin pieces may bend if moved while soft or placed on an uneven surface. Shape them on a flat board and support them until sufficiently firm.
Weak joints: Simply pressing two pieces together may not provide a reliable bond. Score the joining surfaces and use the recommended joining technique.
Paint that peels: Painting before the clay is completely dry can trap moisture. Allow adequate drying time and check that the chosen paint is compatible with the material.
Unexpected water damage: Varnish does not automatically make an object waterproof. Check the coating manufacturer’s specifications and keep finished pieces away from prolonged moisture unless the complete system is rated for that use.
The Future of Air Dry Clay in 2027
By 2027, accessible craft materials are likely to remain useful for home projects, classroom activities and small-scale creative businesses. However, improvements in product performance should not be assumed without manufacturer evidence.
Buyers may increasingly compare packaging, ingredient information, durability and environmental claims. Water-based ingredients alone do not prove that a product is biodegradable or environmentally preferable. These claims require evidence about the complete formulation and its disposal.
For makers, the most useful development would be clearer guidance on drying times, material compatibility and protective finishes. Until such information is available for a specific product, established working methods remain the most reliable approach.
Frequently Asked Questions
How long does air dry clay take to dry?
Many projects dry within 24–72 hours, but thick objects can require several days. Humidity, airflow and the clay formulation affect the result.
Can you paint air-drying clay?
Yes. Acrylic paint is commonly used after the object has dried completely. Test the paint on a small area if the finish is important.
Can you make waterproof objects with air-drying clay?
Not reliably with the clay alone. A suitable sealant may improve moisture resistance, but the finished object should not be assumed waterproof or safe for food contact.
Does air dry clay need baking?
No. It is designed to harden at room temperature. Baking it may damage the piece unless the manufacturer explicitly permits that process.
Why does my clay crack while drying?
Cracking can result from uneven thickness, rapid moisture loss, weak joins or excessive water during modelling. Gradual drying and consistent construction help reduce the risk.
References
- Crayola. (n.d.). Air-Dry Clay product information and guidance. Crayola.
- DAS. (n.d.). DAS modelling clay: Product information and instructions. DAS.
These manufacturer references are starting points for editorial verification. Confirm the current product instructions and source details before publication.
Conclusion
Air-drying clay offers a straightforward way to create decorative objects without investing in specialist pottery equipment. Its accessibility makes it suitable for beginners, families, classrooms and experienced makers exploring small creative projects.
Good results depend less on complicated tools than on careful preparation. Even thickness, secure joins and gradual drying can reduce common problems. Choosing an appropriate paint or finish also helps protect the appearance of the completed object.
Its limitations deserve equal attention. Most formulations are not designed for prolonged water exposure, food contact or the strength associated with fired ceramics. Protective coatings have limits, and product instructions should guide decisions about use and care.
For decorative crafts, the material provides a useful balance of convenience, flexibility and creative freedom. Understanding how it behaves makes it easier to choose suitable projects, avoid preventable failures and produce objects that remain attractive over time.
Methodology
This article provides general guidance based on established modelling practices and manufacturer product information. No independent product testing or firsthand trials were conducted for this draft. Drying times and finishing results vary between formulations and working environments, so manufacturer instructions should be checked before publication.
The references require human verification against current manufacturer pages. An editor should also confirm product-specific safety guidance and review the article before publication.
Editorial disclosure: This article was drafted with AI assistance and requires human editorial review and verification before publication.