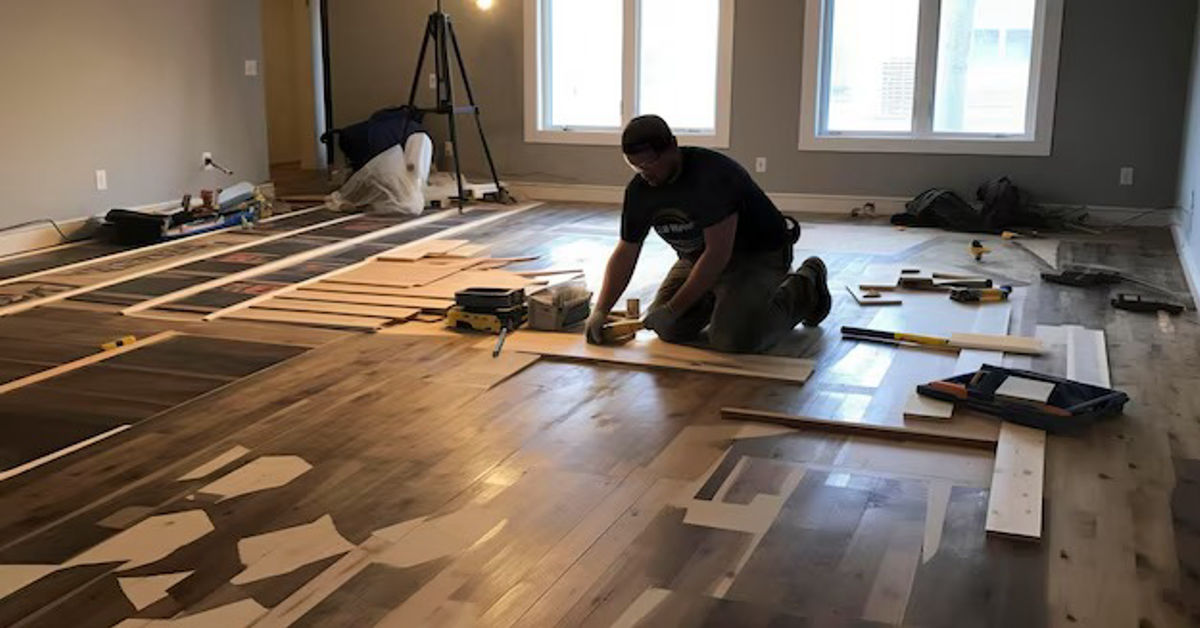
Preparing your floors for a major renovation is a critical first step that can significantly impact the outcome of your project. From protecting flooring materials to ensuring a clean workspace, proper preparation minimizes damage, saves time, and sets the stage for a seamless renovation process. This guide will walk you through the essential steps for getting your floors renovation-ready.
1. Clear the Space Completely
Before any work begins, remove all furniture, rugs, and decor from the area. A completely clear floor is crucial for safe and efficient renovations. Not only does this make it easier for the work to proceed, but it also prevents unnecessary damage to items left in the room.
Tip: If possible, move items to a separate room or cover them with protective sheets in an area away from dust and debris. For large or heavy items, consider renting furniture sliders to make the process easier.
2. Clean the Floors Thoroughly
Start with a deep clean to remove dirt, dust, and debris. This step ensures a smooth surface for any protective layers or preliminary work. Sweeping, vacuuming, and mopping are essential for a spotless result.
Pro Tip: Pay extra attention to corners and edges, as these areas tend to accumulate dirt. If you’re uncertain, a handheld vacuum can help you reach those tricky spots.
3. Use Heavy Duty Floor Protection
Protecting your floors is one of the most important steps during a renovation. Depending on the type of flooring and renovation work involved, you may need robust materials like heavy duty floor protection paper. These papers are designed specifically to shield your flooring from scratches, spills, and heavy foot traffic.
Why This Matters: Without proper protection, existing floors may sustain costly and irreversible damage, delaying the overall renovation timeline. Using premium floor protection products will ensure your surfaces remain pristine throughout the process.
4. Check for Underlying Issues
Before beginning the renovation, inspect the floor for existing issues like uneven surfaces, creaks, or loose tiles. Any underlying problems should be resolved in advance to ensure that the finished project is stable and professional-looking.
Example: For wooden floors, look out for gaps or warped boards. Address these problems by sanding them down or applying filler before covering the area with protection sheets. 5. Seal Off Adjacent Areas
Renovations can get messy, and dust has a way of infiltrating even the cleanest spaces. Seal off adjacent areas to contain the mess within the renovation zone. Use painter’s tape and plastic sheeting to cover doorways, vents, and windows.
Tip: Install temporary carpet runners or floor mats in high-traffic zones to reduce dust movement to other areas, keeping your home as clean as possible during the renovation.
6. Communicate with the Renovation Team
Discuss your flooring-specific concerns with the renovation team. Point out areas where extra caution is needed or share any preferences for how the floors should be handled. A strong line of communication will help prevent misunderstandings and ensure your expectations are met.
Bonus Tip: If you’re not present during the renovation, establish a clear line of communication via phone or messaging to stay up-to-date on progress.
Preparing your floors properly can make all the difference in your renovation’s end result. By following these steps, you can protect your flooring, maintain a clean environment, and ensure the space is ready for its transformation.
In conclusion, successful renovations require careful preparation and clear communication. By taking the time to protect your floors, maintain cleanliness, and establish a consistent dialogue with your renovation team, you can ensure a smooth process and achieve the results you envision. Thoughtful planning and attention to detail will make your renovation experience more enjoyable and rewarding.


