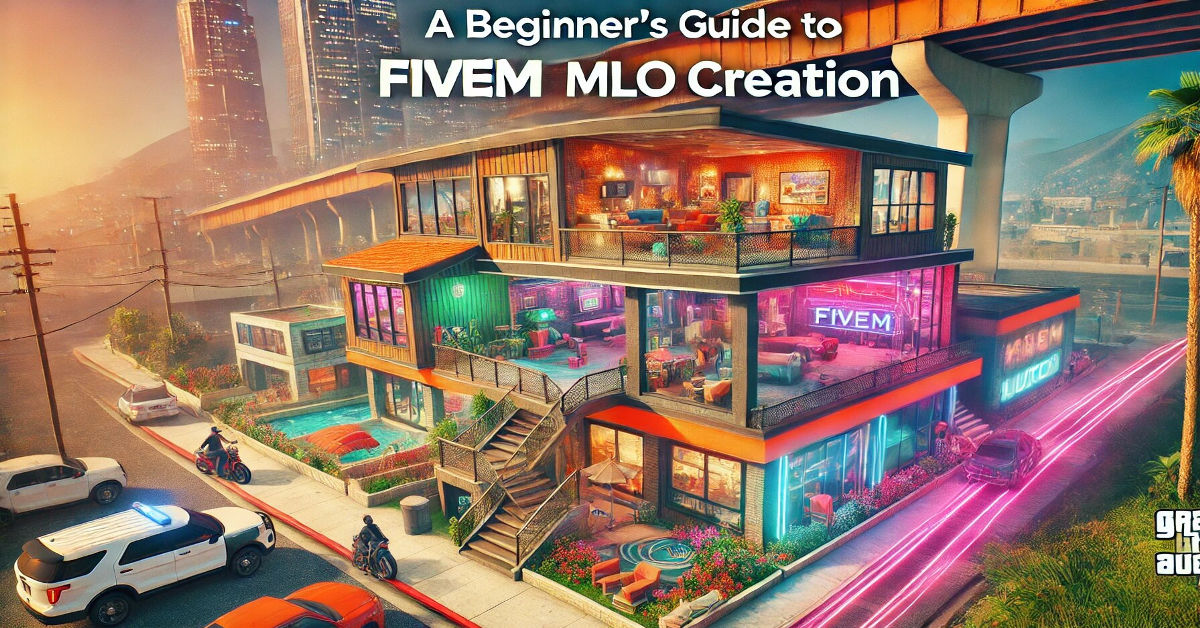
FiveM has become a popular platform for creating custom multiplayer modifications (mods) for the game Grand Theft Auto V (GTA V). A key aspect of this customization lies in MLO creation, which involves designing interiors and exteriors for buildings and other objects in the game. Whether you are creating new homes, shops, or landmarks for players to explore, mastering MLO creation is essential to enhance the experience.
In this beginner’s guide, we will explore what MLOs are, the tools you need to get started, and how to approach creating your first FiveM MLO.
What is an MLO in FiveM?
In GTA V, MLO (short for Multi-Layer Object) is used to describe map files that allow players to enter custom-designed interiors, such as buildings, houses, or even underground locations. These map files go beyond simple textures and include walkable interiors, lighting, objects, and interactive elements.
MLOs bring the game world to life, giving players new places to explore and interact with. In FiveM, these custom MLOs are often used in roleplay servers to create unique environments like police stations, nightclubs, apartments, or restaurants that fit the needs of that specific server’s community.
Key Features of MLOs:
- Custom Interiors: Walkable indoor environments.
- Lighting and Textures: Realistic lights, textures, and objects.
- Doors and Windows: Enterable areas with working doors and windows.
- Interactive Elements: Objects and animations that players can interact with.
Tools You’ll Need for FiveM MLO Creation
Before diving into creating your own MLOs, you will need a specific set of tools to ensure a smooth and efficient process. Here is a breakdown of the key software and tools that you’ll need:
1. 3DS Max (Autodesk)
3DS Max is one of the most widely used 3D modeling software programs for creating MLOs in FiveM. It allows you to design complex 3D models, create textures, and apply lighting. You’ll use this tool to create the basic structure of your MLO, adding details such as walls, windows, doors, and furniture.
2. GIMS EVO Plugin
GIMS EVO is a plugin for 3DS Max that allows you to export your 3D models into a format that GTA V and FiveM can understand. With GIMS EVO, you can convert your models into YDR (Drawable) and YBN (Collision) files, which are essential for integrating your MLO into the game.
3. CodeWalker
CodeWalker is a powerful tool used for editing GTA V maps. It allows you to preview, place, and modify your custom MLO within the game world. CodeWalker is also handy for checking how your MLO will interact with existing objects in the game and ensuring that everything is properly aligned.
4. OpenIV
OpenIV is another essential tool for modding GTA V. It allows you to explore and modify game files, install mods, and handle various file types, such as textures, sounds, and animations. OpenIV is important for packing your MLO and ensuring it’s ready for use in FiveM.
5. Photoshop (or any Texture Editor)
Since MLOs often require custom textures (e.g., wallpapers, floor tiles, or posters), you’ll need an image editing software like Photoshop. This allows you to create and manipulate textures that will be applied to the objects in your MLO.
Step-by-Step Guide to Creating Your First MLO
Now that you have the tools in place, let’s walk through the process of creating your first MLO for FiveM.
Step 1: Plan Your MLO
Before jumping into the technical side, it’s important to plan out what you want to create. Determine the type of building or environment you want to design, and think about its purpose. Is it a nightclub, a police station, or a simple house?
You should also consider:
- The size of the space: How many rooms, floors, and entrances?
- Style and theme: Modern, vintage, futuristic?
- Objects and furniture: What types of interactive elements do you need?
Sketch out your ideas on paper or using design software, so you have a clear vision when you start modeling.
Step 2: Model the Structure in 3DS Max
With a plan in mind, you can now start modeling the structure in 3DS Max. Begin by creating the basic geometry for the walls, floors, and ceilings. Make sure to add doors and windows at this stage, as they’ll be key features for player interaction.
Tips for Beginners:
- Start simple: Focus on creating a basic layout first before adding too much detail.
- Use reference images: If you’re modeling a real-world location, use images to help get the proportions and design right.
- Work in layers: Keep walls, floors, and furniture on separate layers to make adjustments easier.
Step 3: Apply Textures and Materials
Once the basic structure is in place, it’s time to add textures and materials. This step will make your MLO look more realistic. For example, you’ll want to apply brick textures to walls, wood textures to floors, and glass textures to windows.
Use your image editor (e.g., Photoshop) to create custom textures if needed. Then, import them into 3DS Max and apply them to your objects.
Step 4: Export the MLO Using GIMS EVO
After modeling and texturing your MLO, you’ll need to export it in a format compatible with FiveM. This is where the GIMS EVO plugin comes in. You’ll use GIMS EVO to convert your models into YDR (drawables) and YBN (collision) files.
Steps for Exporting:
- Install the GIMS EVO plugin in 3DS Max.
- Select the parts of your MLO you want to export.
- Export the files in the appropriate format (YDR for objects, YBN for collision).
Step 5: Place Your MLO in the World with CodeWalker
With your MLO exported, it’s time to place it in the game world using CodeWalker. CodeWalker allows you to visualize where your MLO will be placed and how it will interact with other objects in the game. This tool is essential for ensuring that your MLO fits properly within the existing map and that there are no glitches or misalignments.
Step 6: Test Your MLO in FiveM
Once your MLO is placed, it’s time to test it in FiveM MLO. Make sure you have a FiveM server set up, then load your MLO to see how it performs. Check for any issues such as missing textures, collision problems, or lighting bugs.
Testing is an important step, as it allows you to fix any problems before releasing your MLO to the public.
Common Challenges and Troubleshooting Tips
Creating MLOs can be a complex process, especially for beginners. Here are some common challenges you might face and how to overcome them.
Collision Issues
One of the most frequent problems is getting collision to work correctly. Without proper collision, players might walk through walls or fall through floors. Make sure to create a collision mesh (YBN) for each object in your MLO and test it thoroughly.
Lighting Problems
Lighting can make or break the realism of your MLO. If the lighting looks unnatural or too dark, try adjusting the light sources in 3DS Max. Experiment with different light types (e.g., ambient, spotlights) to get the desired effect.
Missing Textures
If textures are missing in-game, it’s often due to incorrect file paths or unsupported texture formats. Double-check that all textures are in the correct format (DDS) and that they are properly linked in your 3D model.
Performance Optimization
Large or highly detailed MLOs can cause performance issues on servers, such as lag or slow loading times. To optimize performance, try reducing the polygon count of your models and minimizing the number of high-resolution textures.
Final Thoughts on MLO Creation for FiveM
Creating MLOs for FiveM is a rewarding experience that allows you to bring your creativity to life within GTA V. Although it may seem daunting at first, by breaking the process down into manageable steps, you can successfully create custom interiors that will enhance the gameplay experience for others.
With the right tools, practice, and perseverance, you’ll be able to design unique MLOs that stand out on any FiveM server. As you gain more experience, you can experiment with more complex structures, lighting setups, and interactive elements to push the boundaries of what’s possible in GTA V modding.


